List view
New Releases
New Releases
Getting Started
Getting Started
Order Management
Order Management
Inspection Management
Inspection Management
Templates
Templates
Introduction
In Fingertip, Admin users can simply plan and assign a new inspection for the inspector from our web portal only.
To assign a new inspection, the user must log in as an Admin User and navigate to the Fingertip “Inspection” Module.
Create a single order Inspection
Users need to click on the “+ New Inspection” button to open a popup form for user to fill the required information below and then click Create button.
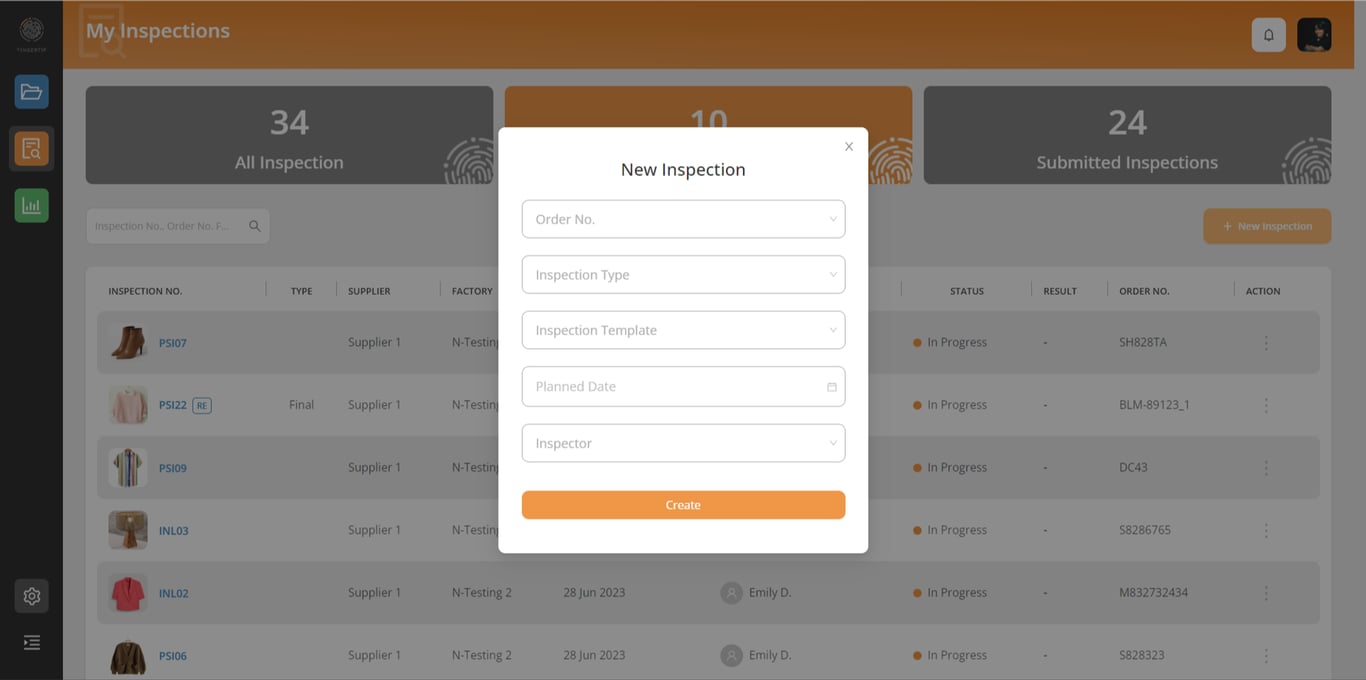
- Order Number - User can type in to search and select the order needed to create an inspection.
- AQL Level: Select your AQL level from a pre-defined list.
- Inspection Type - User can select the type of inspection.
- Inspection Template - User can select the inspection template (or checklist).
- Planned Date - User can set the date of inspection.
- Inspector - User can assign an inspector to this inspection.
Note:
Inspection Type and Inspection Template can be created by Admin users in the settings.
User can create an inspection without “Planned Date” and “Inspector”. This information will however need to be filled in before an inspection can start.
Inspection Type and Inspection Template can be created by Admin users in the settings.
User can create an inspection without “Planned Date” and “Inspector”. This information will however need to be filled in before an inspection can start.
The newly created inspection will appear in the assigned inspector user account in our Fingertip mobile app: Digital QC/QA Mobile app.
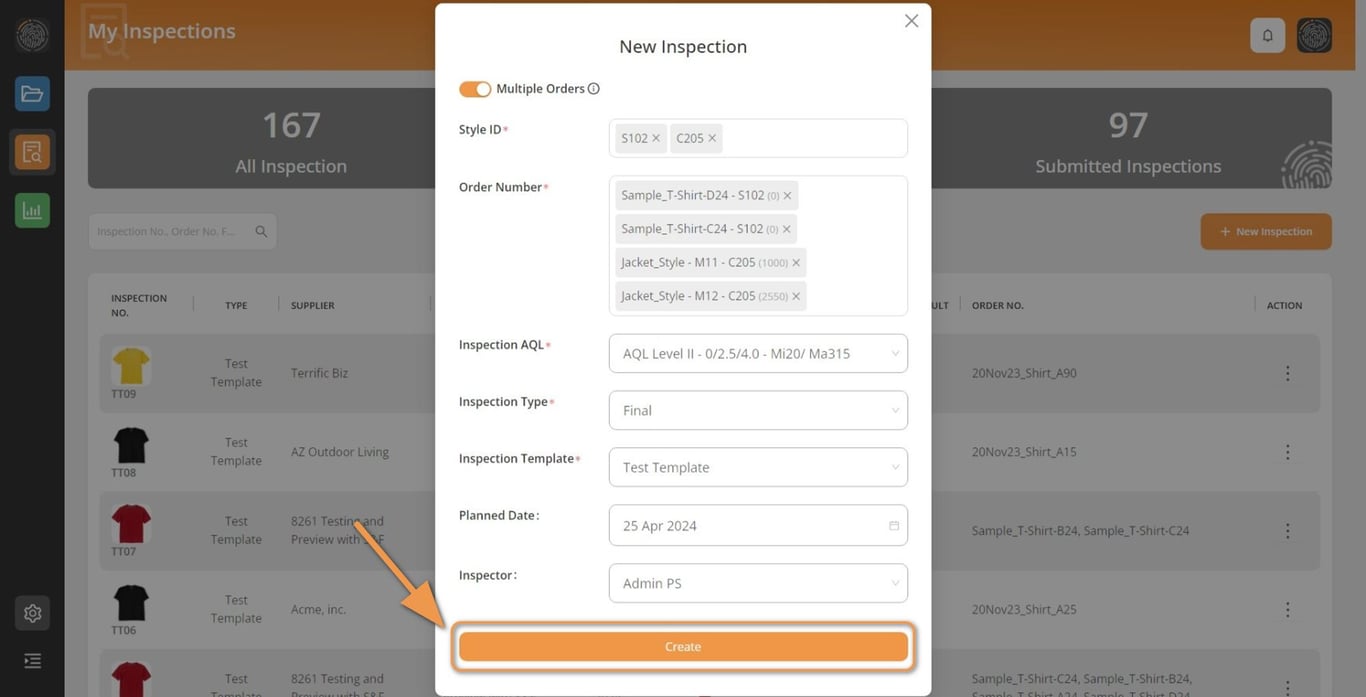
Create a Multiple Order Inspection
Turn on Multiple Orders by clicking the toggle button
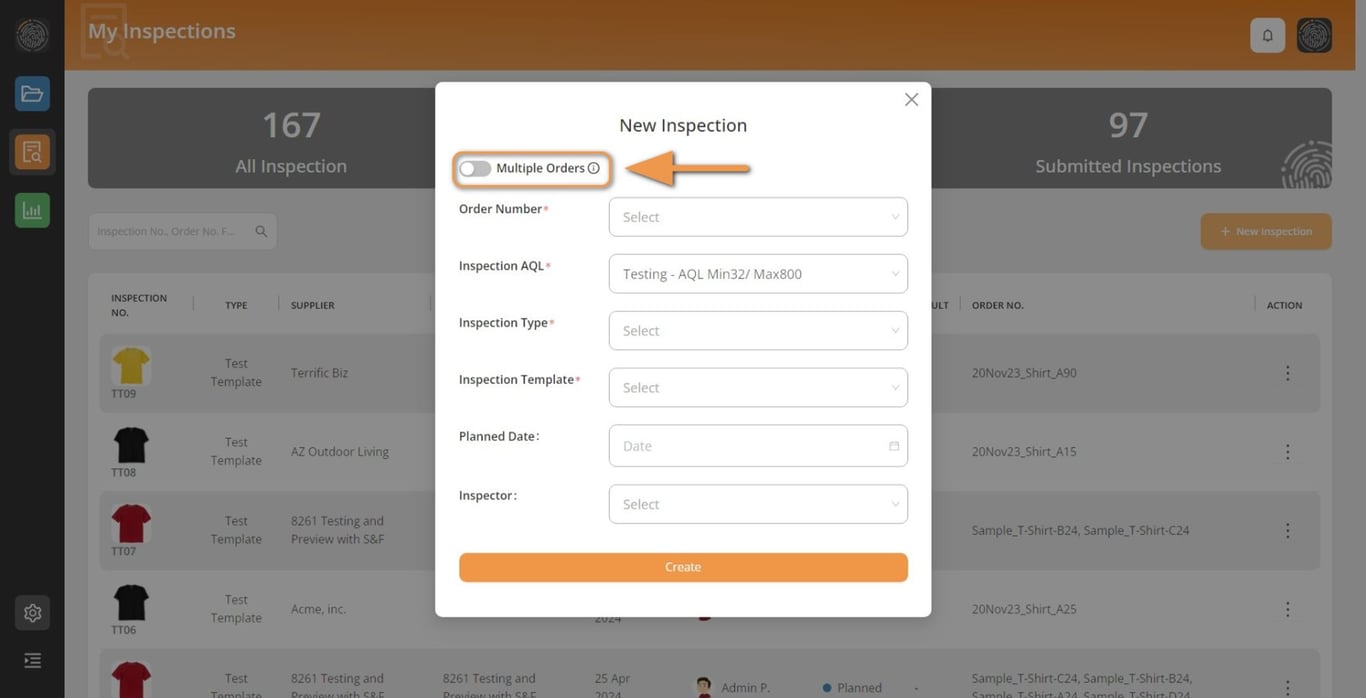
Fill all required information to create an inspection then click Create button
Create a Re-inspection
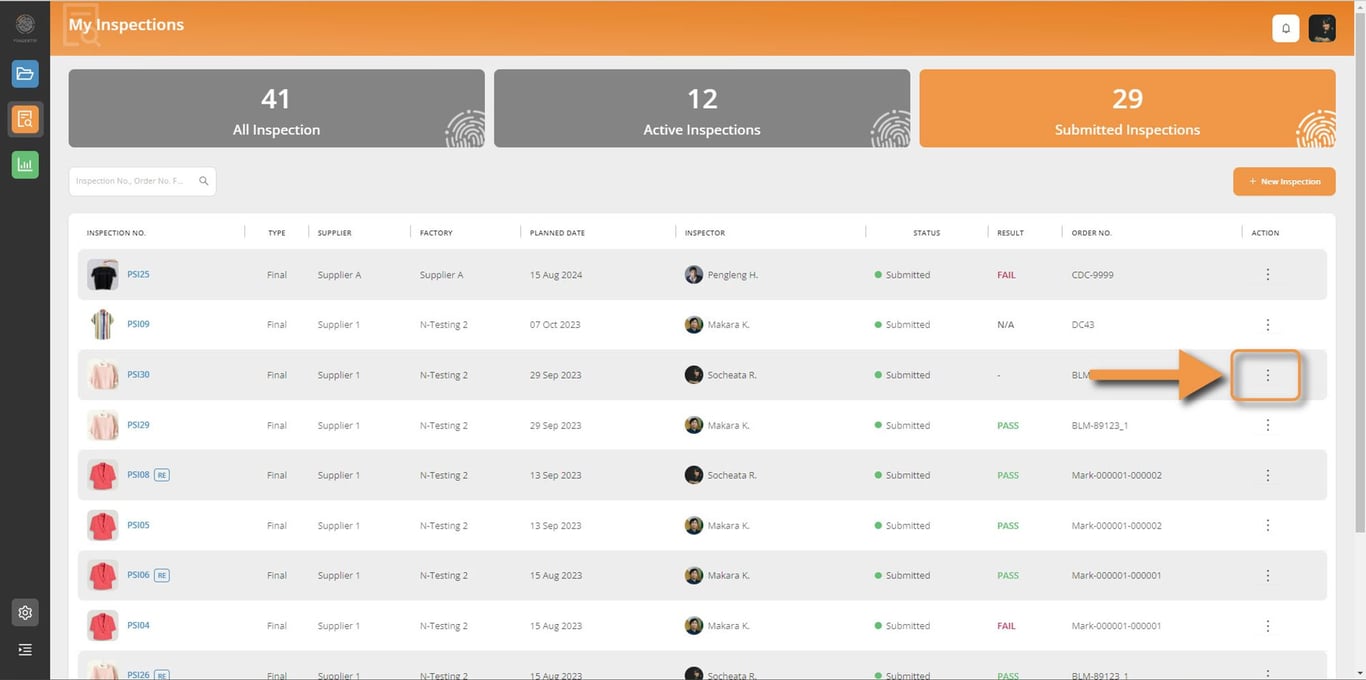
After checking the report from a submitted inspection, and in case of a FAILED inspection, you can simply create a re-inspection from that submitted report and assign the same inspector or a different one.
Click on the SUBMITTED INSPECTIONS TAB, and click on the 3 dots on the right side of the inspection you wish to re-inspect. then select “Re-inspection”.
In this RE-inspection, you can assign an inspector, choose a new date the date, and if you want someone in or outside your organization to be notified, you can add their email address as well as comments both inspector and people in cc will receive.

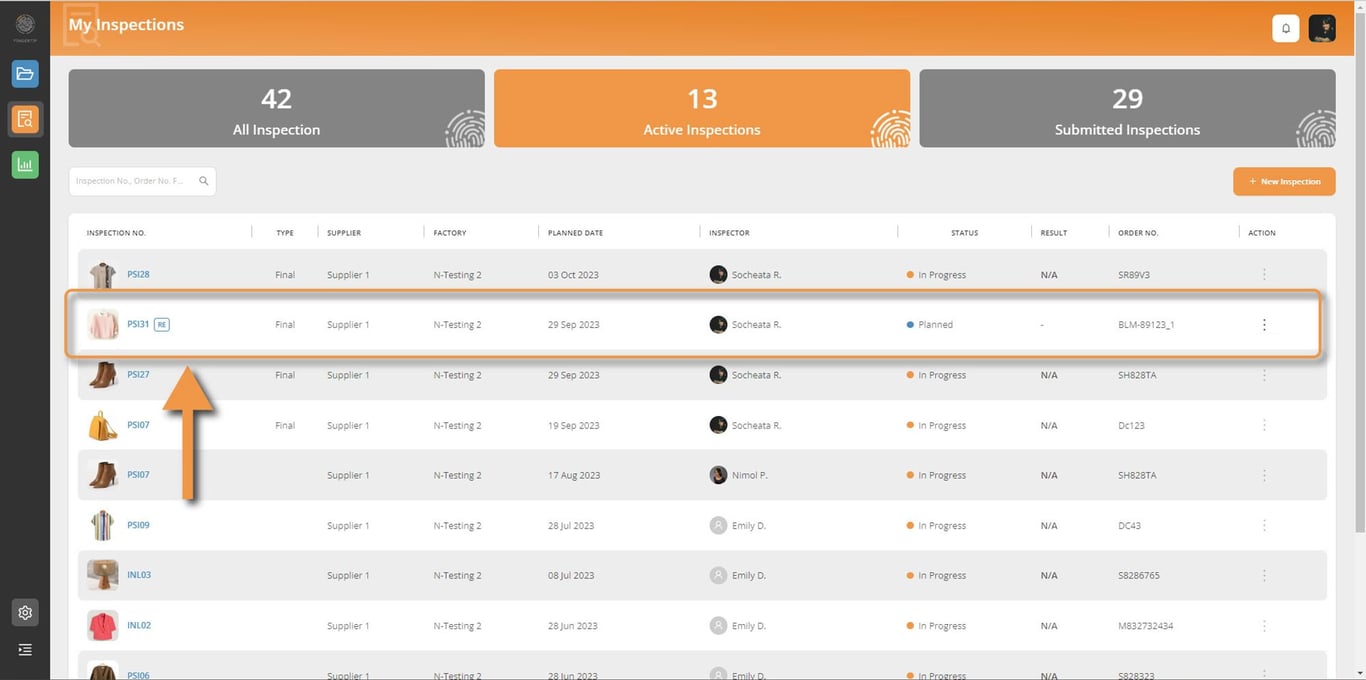
⚠️ This new inspection will now appear in the ACTIVE INSPECTIONS TAB.
You can note that Re-Inspection item’s name is now followed by the mark “RE”.
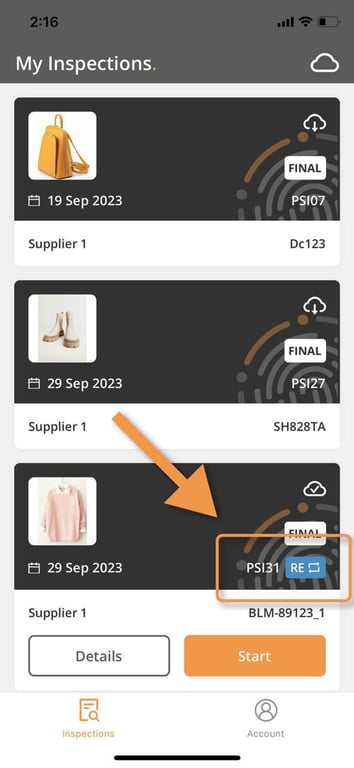
In the mobile app, For the inspector, the process of the Re-Inspection remains the same as the original inspection:
 Made with Bullet