List view
New Releases
New Releases
Getting Started
Getting Started
Order Management
Order Management
Inspection Management
Inspection Management
Templates
Templates
Introduction
In this section, you will learn how to navigate and manage your inspections using Fingertip. This guide will provide step-by-step instructions on how to edit an assignment and delete an inspection. Fingertip’s intuitive interface ensures that these tasks are simple and straightforward, allowing you to maintain control over your inspections with ease. By utilizing Fingertip, you gain the benefits of transparency, visibility, accountability, and effective collaboration, ensuring your inspection processes are efficient and well-organized.
Edition
After finishing creating your first inspection, the Admin user has two options to make adjustments to the newly created inspection.
Plan or Edit date and inspector assigned
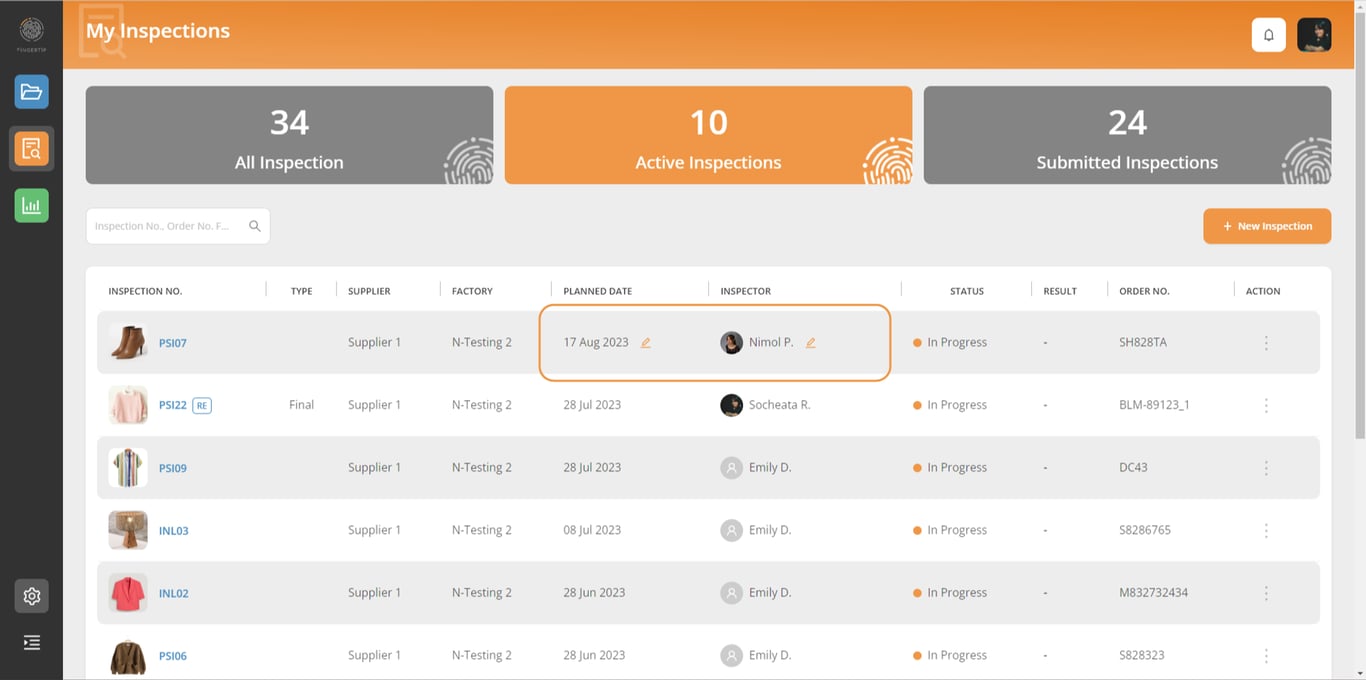
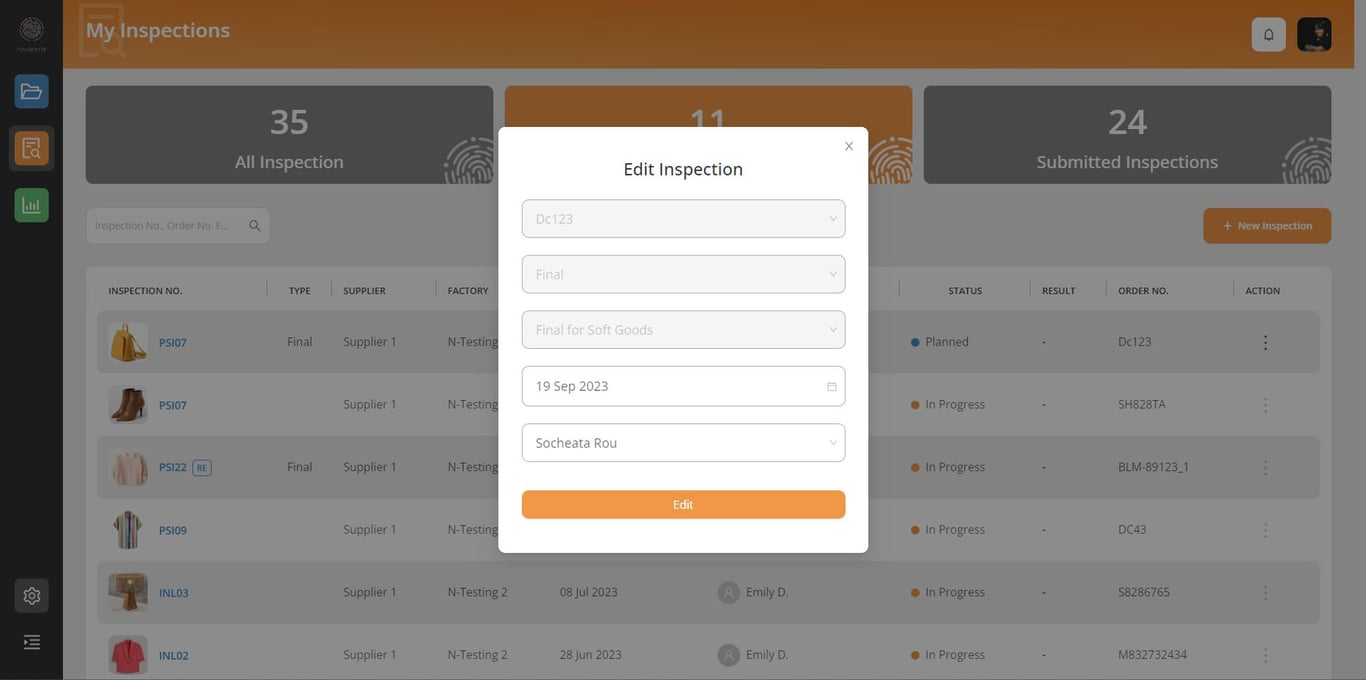
To edit or simply plan the inspection date or the inspector assigned to the inspection, click on the PENCIL icon as shown below. Then select your inspection date, and/or inspector name.
Or go to the 3 DOTS action button on the right side of your inspection
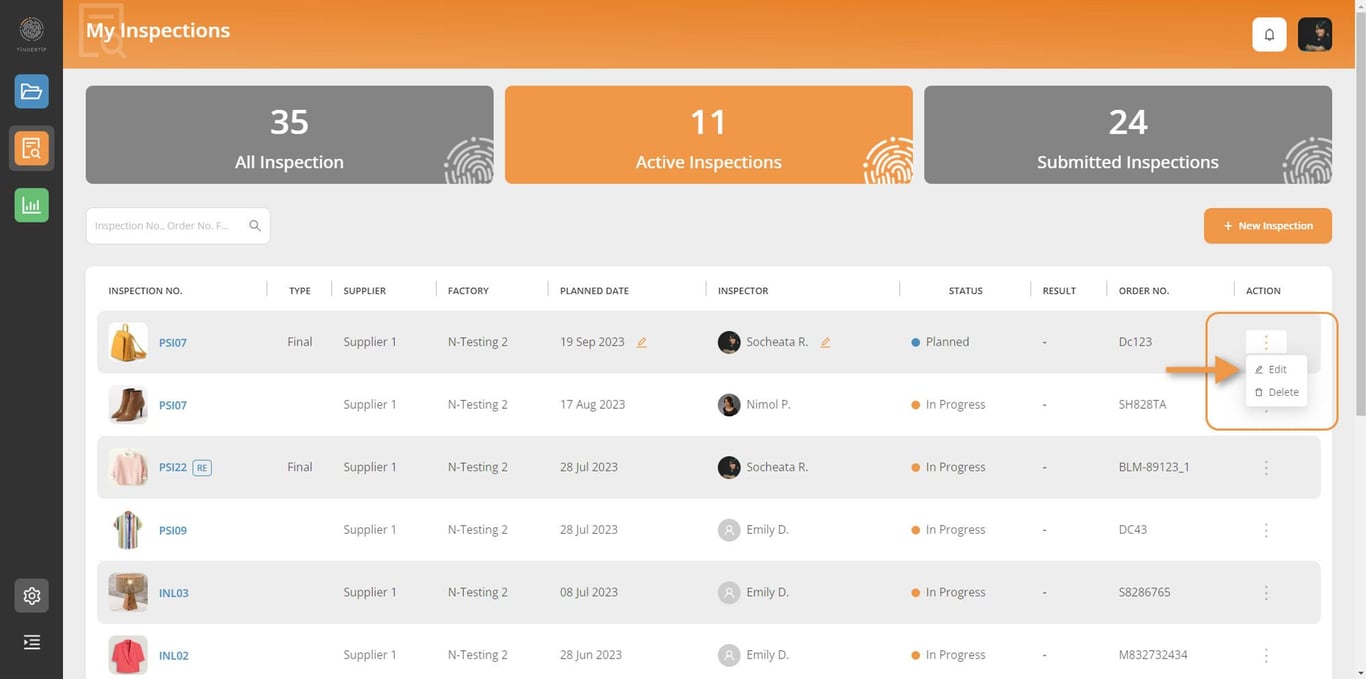
⚠️ Note: Admin users only can edit this information. Only PLANNED DATE and INSPECTOR can be edited.
Note: Admin users are only allowed to edit “Planned Date” and “Inspector” in selected inspections with the status “To Plan” and “Planned” only.

Delete a planned inspection
Admin users can delete any inspection after they were created. Users simply go to the inspection item they want to delete then click on the 3 DOTS action button then click on “Delete”.
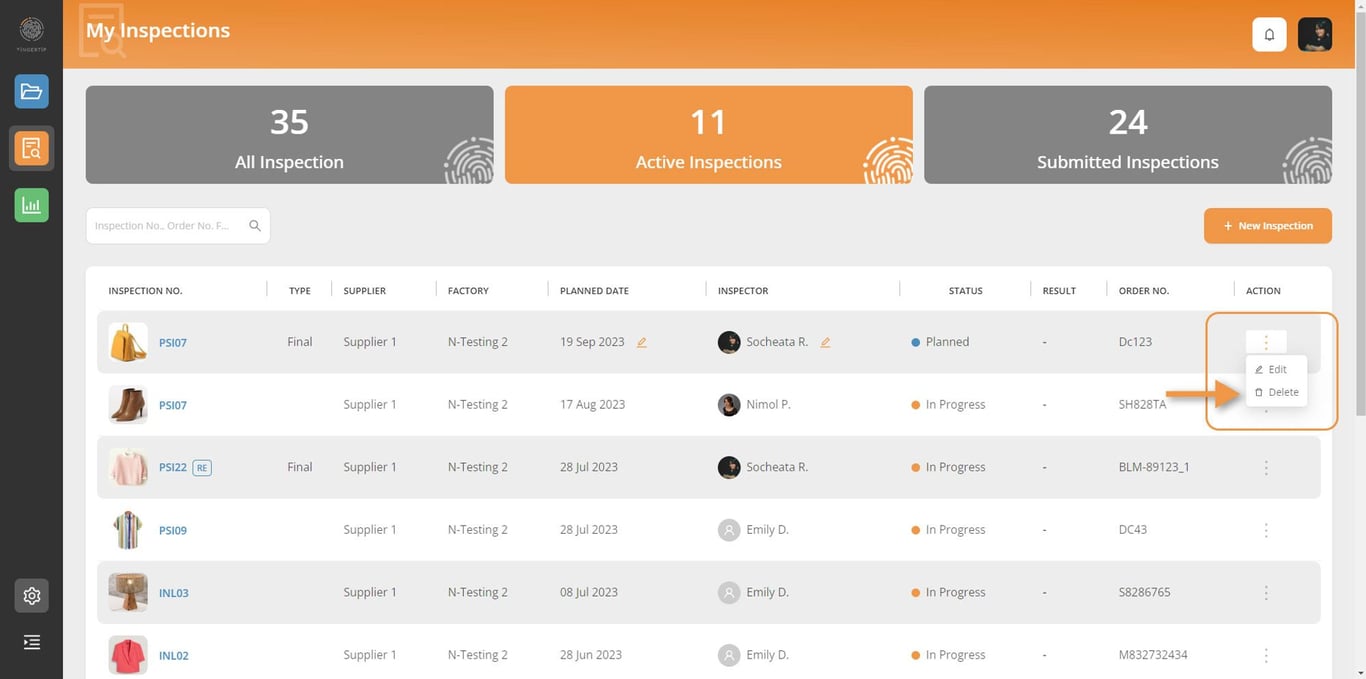
Note: Admin users are only allowed to delete the inspection with the status “To Plan”, “Planned”, and “Submitted” only. If the Admin wants to delete the “In Progress”, please ask the Inspector to submit a blank inspection then Admin user can then delete the inspection.

 Made with Bullet